Primer Series · Page 5 – Tasting Techniques
Tasting whiskey well is a learnable skill — not an innate gift. It requires slowing down, engaging your senses deliberately, and building a vocabulary for what you’re experiencing. This page covers the mechanics of tasting, the flavor language used by professionals, and how to get more out of every pour.
First: The Right Glass
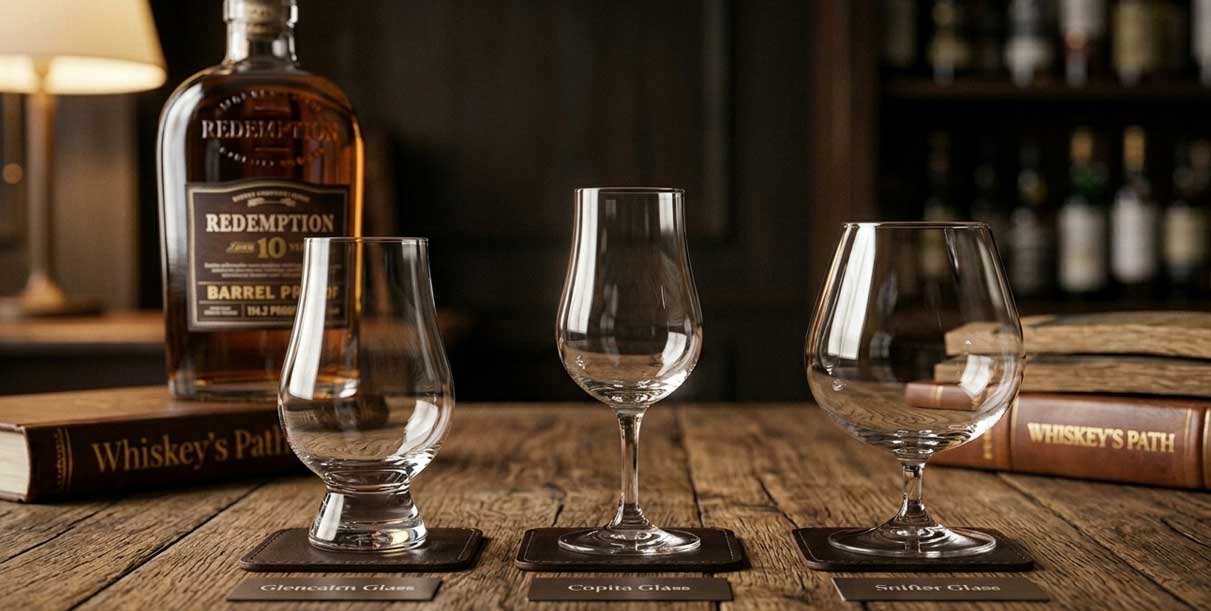
Before a single drop passes your lips, the glass matters more than most people realize. A wide-mouthed rocks glass is fine for a whiskey cocktail — but for serious nosing and tasting, it’s nearly useless for capturing aromatics.
The ideal whiskey tasting glass is a tulip-shaped vessel (also called a Glencairn glass, a copita, or a snifter) with a narrower opening that concentrates and funnels aromas toward the nose. The Glencairn, designed specifically for whisky tasting, has become the de facto standard at distilleries, competitions, and clubs worldwide.
Fill the glass to approximately one-third full. This leaves plenty of headspace for aromas to collect.
The Four Phases of Tasting
Phase 1 — Color & Appearance
Hold the glass up to a light source and observe the color. While Straight American bourbon cannot have caramel coloring added (ensuring color is entirely natural), the shade tells you something about the whiskey’s history:
- Pale gold / straw: Likely younger or aged in previously used barrels (common in Scotch and Irish whiskey)
- Deep amber / copper: Extended barrel aging in new oak; significant wood interaction
- Mahogany / dark brown: Very long aging, heavy char influence, or ex-sherry cask maturation
Next, swirl the glass gently and observe the legs (or “tears”) — the streams of whiskey that run back down the glass. Heavier, slower-moving legs suggest higher sugar content, higher proof, or both. This is a minor data point, not a quality indicator.
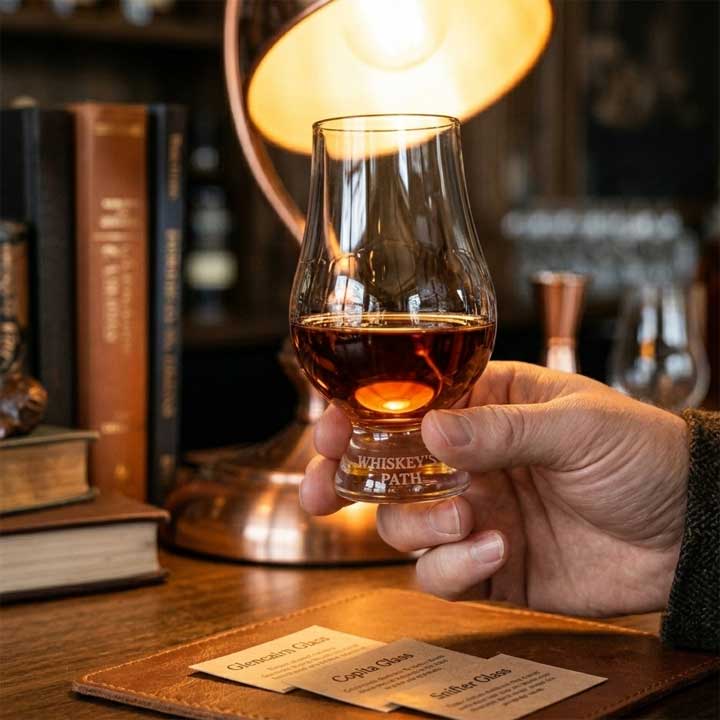
For bourbon, color is a reliable proxy for oak influence since no coloring is added. A very pale bourbon is likely young or entered the barrel at high proof. A very dark bourbon has almost certainly spent many years in contact with heavily charred wood.
Phase 2 — The Nose (Aroma)
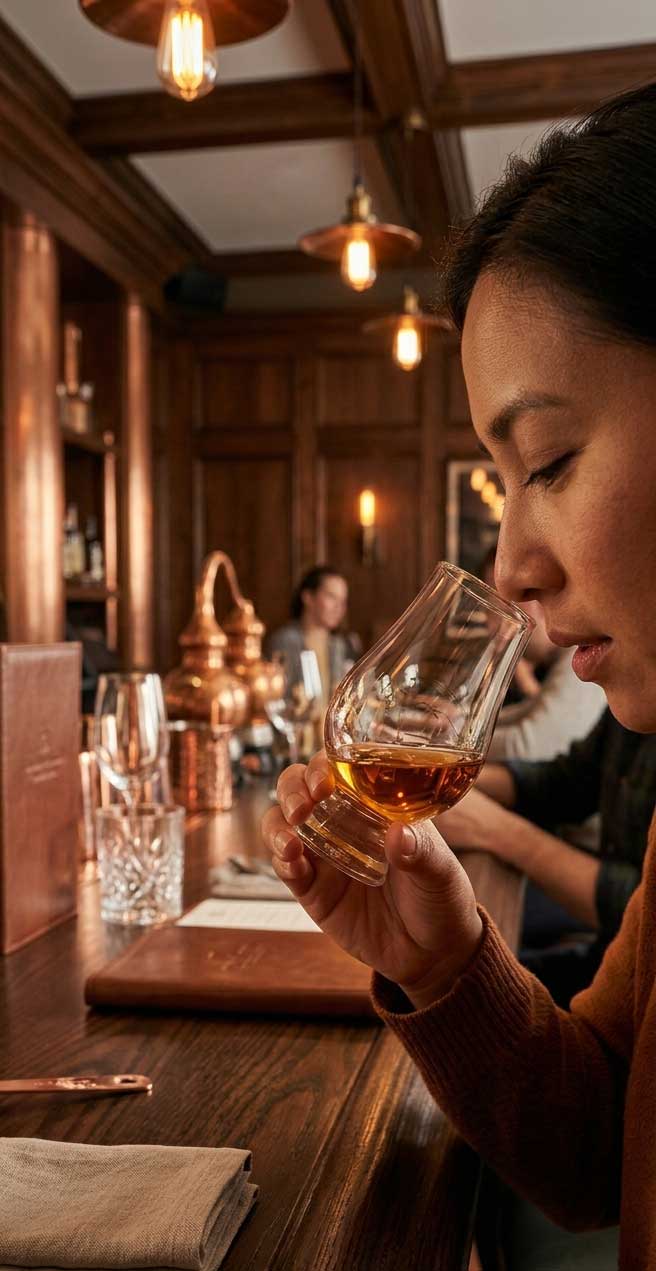
The nose is the most information-rich phase of tasting. Human beings can distinguish thousands of different aromas, and whiskey contains hundreds of distinct aromatic compounds. Taking time to nose carefully before the first sip significantly enhances the tasting experience.
How to Nose Properly
- Start with the glass several inches from your nose and gradually bring it closer. At high proofs, bringing the glass too close initially overwhelms the nose with alcohol vapors and masks more subtle aromas.
- Try alternating nostrils — many tasters find one nostril is more sensitive or picks up different notes than the other.
- Nose with your mouth slightly open. This engages the retronasal olfactory system and helps differentiate aromas that might otherwise blend together.
- Let the whiskey rest in the glass for 3–5 minutes before nosing. Airtime allows the spirit to open up and more volatile aromatic compounds to escape.
- Return to the glass multiple times. The aroma of a good whiskey evolves over time as lighter compounds escape and deeper ones emerge.
When nosing, try to identify aromas in layers — moving from the light and volatile (fruit, floral, grain notes that hit first) to the heavier and deeper (wood, leather, tobacco, earthiness that emerge on longer nosing).
Phase 3 — The Palate (Taste)
Take a small sip — not a gulp — and let the whiskey coat your entire mouth before swallowing. Roll it across your tongue, engaging the tip (sweetness), sides (acidity/salinity), and back (bitterness). Professional tasters sometimes “chew” the whiskey, working their jaw gently to distribute the liquid.
The First Sip
Many tasters find their first sip of a new whiskey is somewhat muted as the mouth adjusts to the proof and the alcohol temporarily masks other flavors. Don’t judge a whiskey on the first sip alone. The second sip — after the palate has adjusted — typically reveals far more.
Water: To Add or Not?
Adding a small amount of water (literally a few drops from a pipette or the tip of a finger) is a legitimate and respected tasting technique, not a compromise. Water does two things: it lowers proof (reducing alcohol heat that can mask flavor), and it causes certain aromatic compounds to release from solution — “opening up” the whiskey. This effect is particularly pronounced in cask-strength expressions above 115–120 proof.
Try a whiskey neat first, then add 2–3 drops of still water and nose and taste again. The difference is often remarkable. Over time you’ll find your preferred proof for different styles.
Use still, neutral-flavored water. Sparkling water introduces bubbles that interfere with aromatics. Heavily mineral or flavored spring water adds its own character. Distilled water or simple filtered tap water is ideal.
Phase 4 — The Finish
The finish is what happens after you swallow — the flavors and sensations that linger in the mouth and throat. Finish length and character are hallmarks of quality and complexity:
- Short finish: Flavors dissipate within seconds. Common in lighter, younger whiskeys.
- Medium finish: Flavors persist for 15–30 seconds with moderate complexity.
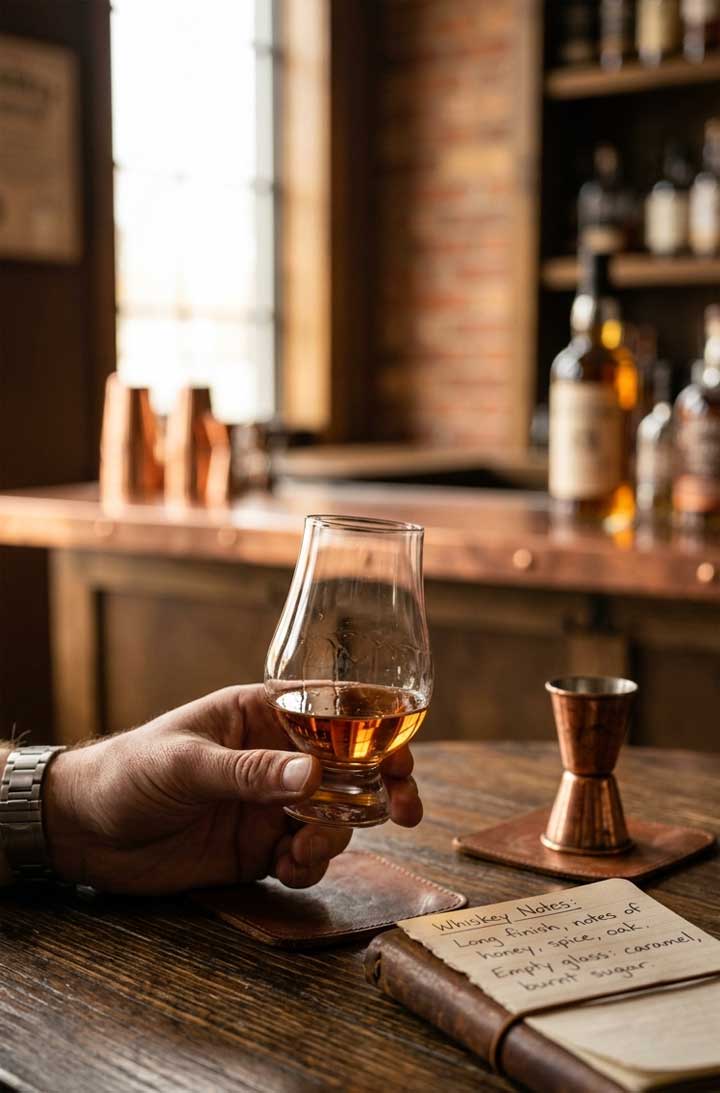
- Long finish: Flavors evolve and linger for a minute or more. Associated with well-aged, high-quality expressions.
Pay attention to whether the finish is warming or burning (heat from alcohol), dry or sweet, spicy, tannic, or fruity. A long, complex, pleasant finish is one of the clearest markers of exceptional whiskey — arguably more telling than the entry.
Also note the empty glass. After you’ve finished, let the empty glass sit for several minutes. The residual whiskey evaporates and concentrates aromas; some tasters find notes in an empty glass that were obscured in the pour.
The Flavor Vocabulary
Building a flavor vocabulary is one of the most rewarding parts of whiskey education. Here are the primary flavor families you’ll encounter, with common examples:
Sweet
Vanilla, caramel, honey, butterscotch, brown sugar, maple syrup, toffee, molasses, cotton candy
Grain
Corn bread, cereal, malted barley, oatmeal, bread dough, cracker, raw grain
Fruit
Apple, pear, cherry, dried apricot, raisin, banana, citrus peel, stone fruit, dark berries
Floral
Rose, violet, lavender, honeysuckle, orange blossom. More common in Scotch and Japanese whisky.
Spice
Black pepper, white pepper, cinnamon, clove, nutmeg, allspice, ginger. Particularly strong in rye whiskeys.
Wood & Oak
Vanilla (from oak lactones), toasted oak, sawdust, cedar, sandalwood (Mizunara), tannins
Rich & Dark
Dark chocolate, coffee, espresso, tobacco, leather, licorice, molasses. Often found in heavily charred or long-aged bourbons.
Smoke & Peat
Campfire smoke, ash, medicinal/iodine (Islay Scotch), tar, charcoal. Rare in American whiskey but prominent in some Scotch expressions.
Herbal & Savory
Mint, eucalyptus, anise, dill (rye), dried herbs, olive brine. Common in high-rye expressions.
Dairy
Cream, butter, custard, whipped cream. More common in Irish pot still and some wheated bourbons.
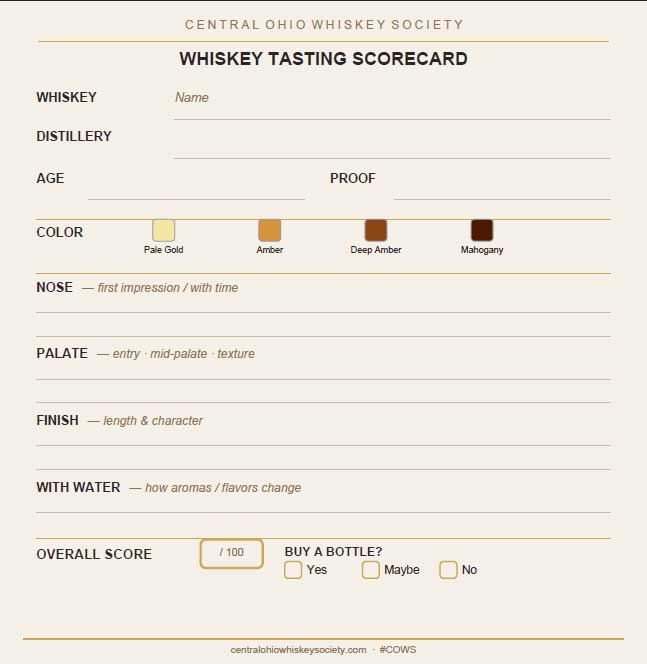
A Simple Tasting Scorecard
Using a consistent framework for each whiskey you taste makes it easier to compare notes over time and communicate clearly with other members. Here’s the approach used at many professional tastings:
Common Biases to Overcome
Even experienced tasters are subject to biases. Being aware of them is the first step to more honest evaluations:
- Price anchoring: People consistently rate the same whiskey higher when told it’s more expensive. COWS blind tastings exist precisely to counter this effect.
- Order effects: Tasting a bold, high-proof whiskey first can make a more subtle expression seem thin by comparison. When possible, taste lighter whiskeys before heavier ones.
- Reputation bias: Knowing a whiskey’s brand, heritage, or critical reputation before tasting significantly biases evaluation. The “blind” in our blind tastings is not a gimmick — it’s science.
- Palate fatigue: After 4–5 pours (even small ones), your ability to distinguish nuances diminishes. Take breaks, drink water, and don’t feel obligated to evaluate every whiskey in a large lineup with equal rigor.
- The halo effect: If you love the nose, you’re primed to love the palate too — even if the two don’t actually match your initial expectations. Try to evaluate each phase independently.
Continue the Whiskey Primer:
Previous: Page 4 — Reading a Whiskey Label
You are here: Page 5 — Tasting Whiskey Like a Pro
Next: Page 6 — Whiskey Glossary